
Through the use of image renditions, Modern SharePoint pages actually do a pretty good job of rendering an image without much manual adjustment. I have had many people ask me what size to make an image and more often than not, it’s the aspect ratio that means more than anything. Microsoft has updated their guidance on creating images for banners and the hero web part and I recommend the read.
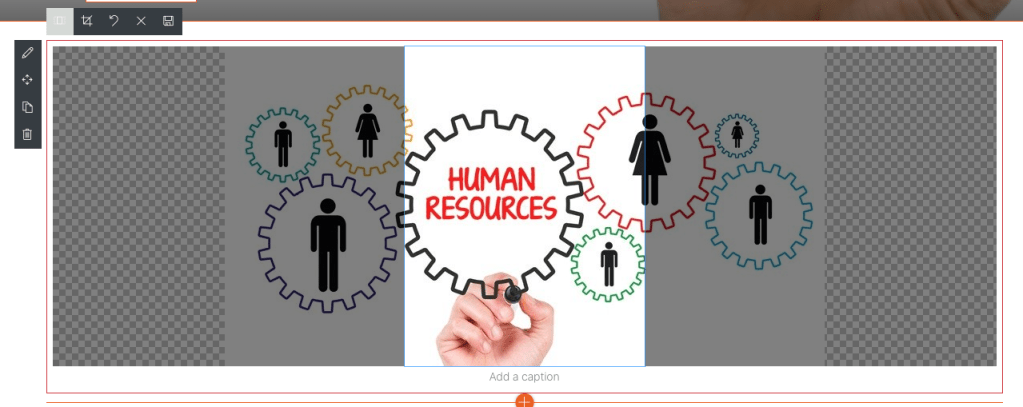
It’s not always perfect though, so now there is a new feature (MC198528) just now rolling out that lets you resize images in the image web part. It’s pretty easy to use too. Consider the following image in an Image web part.

When the page is in Edit mode, click on the image until you see the new editing controls above the top of the image.

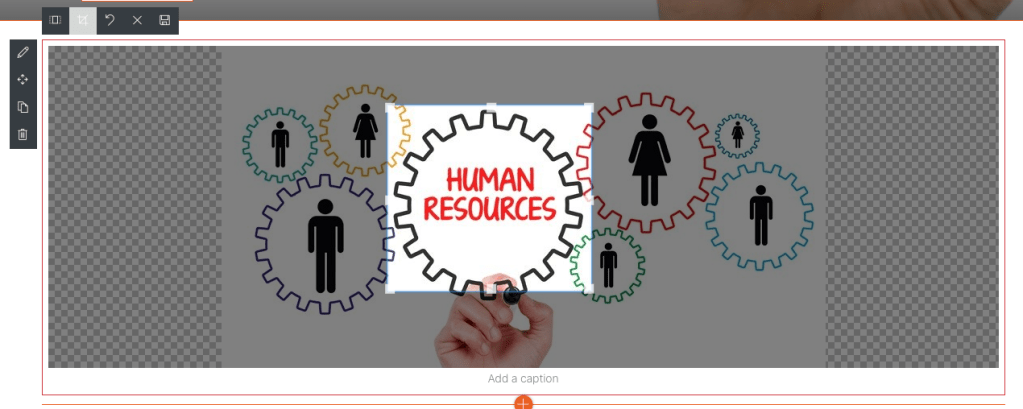
The first icon provides some pre-defined vertical and horizontal crop box sizes.

You can click one and it will adjust the crop box as desired.
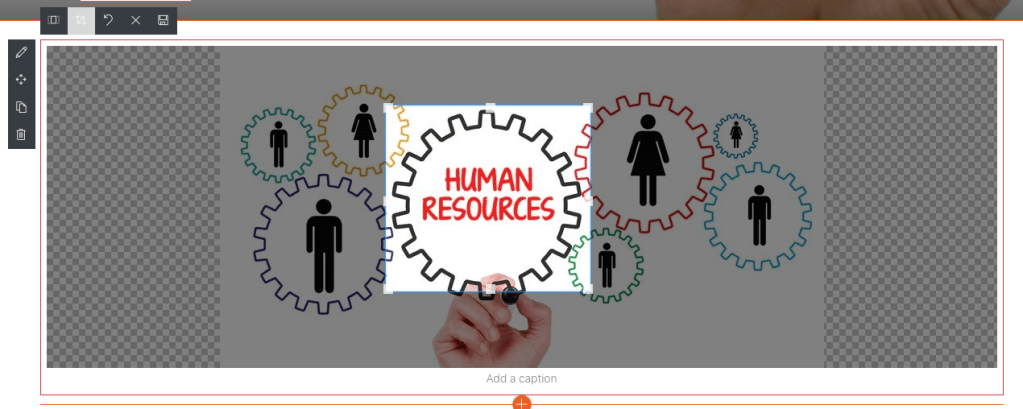
If you want more granular control of your crop box, click the second icon and then you can drag the crop box to the size and location desired. When you are done be sure and click the Save icon in the top right of the cropping tool bar.
Now you can view your resized image when you save your page.

What if you change your mind?
No problem! Just edit your page and your image web part will still have the entire image available. You can change your crop or reset it entirely.
Summary
It’s these niceties that keep coming to SharePoint that just make the experience better on both page authors and on users.
If you are in Targeted Release, you probably already have this feature. According to the message center, it should be available to all users by the end of March 2020 (unless something changes).
